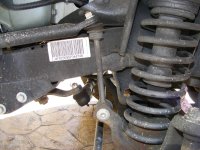
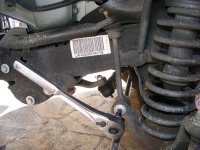
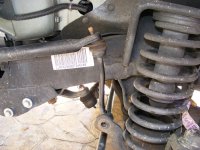
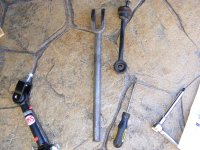
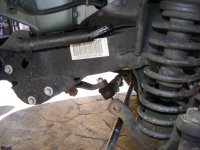
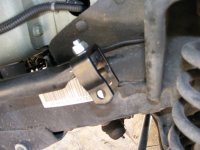
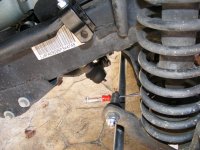
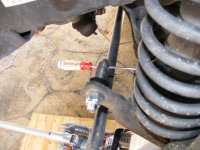
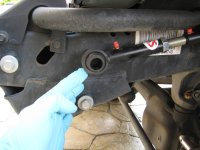
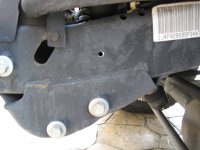
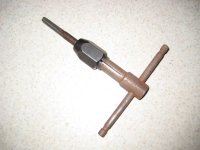
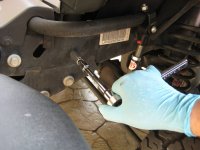
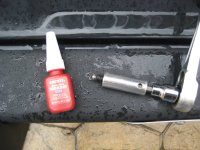
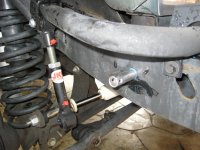
One of the first upgrades I did to my Wrangler was to install a set of sway bar disconnects. These disconnects go a long way to helping your offroad performance. Before I get into the install, how about a quick suspension intro.
Jeeps come equipped from the factory with a front and a rear swaybar (also called a stabilizer bar, or roll bar). The sway bar connects opposite (left and right) wheels together through short lever arms which are connected to a torsion spring. The goal of this is to prevent the body of your Jeep from leaning or rolling in turns. If you can imagine making a left turn when going 50 mph, the body of the Jeep would lean hard to the right - a sway bar is designed to keep the Jeep body from doing this. This is a good thing on the road, but when you venture offroad it becomes more of a hindrance. The sway bar will attempt to limit the travel of your wheels, so when you hit a hole, instead of having your wheel drop into the hole, the swaybar will hold the wheel up in the air.
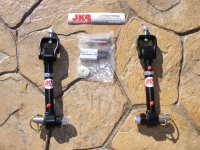
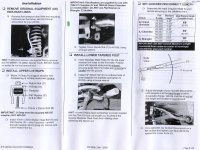
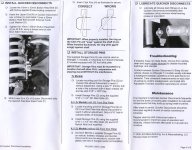
Since swaybars aren't very useful offroad, most people disconnect them. The problem is that factory sway bars, usually connected with a torx bolt, can be very difficult to remove and reattach. Most people find it much easier to replace the entire swaybar link with an aftermarket sway bar disconnect, like the ones I purchased from JKS.
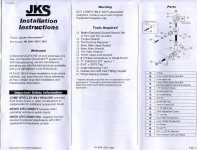
I decided to go with the JKS Quicker Disconnects for this project, namely the ones for 0-2 inches of lift (I had no lift when these were installed, but eventually added a two inch lift). These can be dialed in to accommodate lifts up to two inches.


Last edited:

