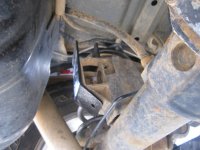
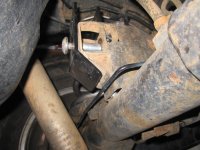
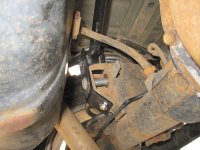
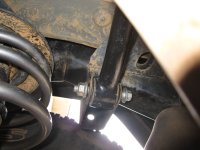
After adding a 2.5" lift to my Jeep Wrangler TJ, I noticed that the ride didn't quite feel right. I would get a bit of bump steer driving down the highway, and things just didn't feel as good as stock. I thought I had addressed everything - new lower control arms and a front trackbar, but after doing a bit of reading I realized that my rear trackbar needed to be lengthened.
Why do you need a longer rear trackbar?
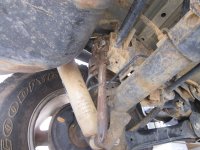
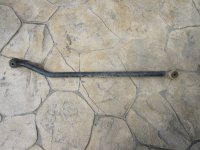
When you lift a Jeep, you end up moving the axles farther away from the frame, which is a good thing, except that the front and rear trackbars connect the frame to the axle, and are not adjustable. On a lifted Jeep the stock trackbar will pull the axle down, and to one side, keeping more tension than necessary on the trackbar. This will cause poor handling, bumpstear, and will fatigue your trackbars.
Most people / companies do address the front trackbar, since the geometry of the front axle is more important (due to steering), however the rear trackbar often gets overlooked. Luckily, there are a few companies that make either longer rear trackbars, adjustable ones, or the route I went, a Trackbar bracket.
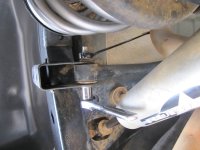
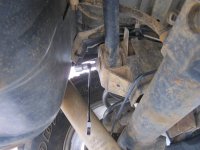
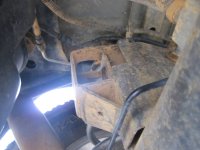
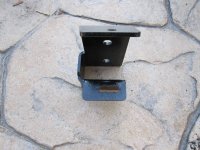
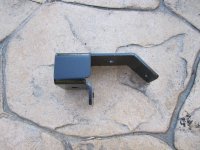
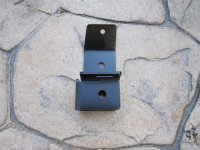
The rear trackbar bracket
I went with a Rough Country rear trackbar bracket. At $18 it’s dirt cheap, but is well made.


Last edited:

