Jeep Wrangler Ball Joint Replacement

TerryMason

Administrator
Staff member
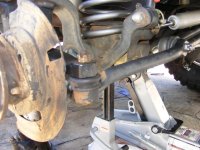
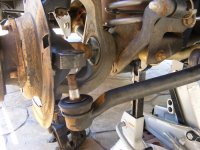
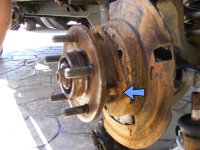
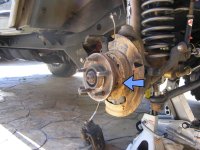
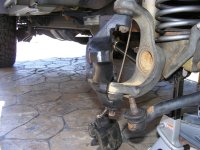
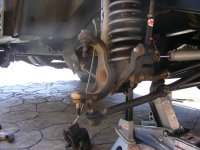
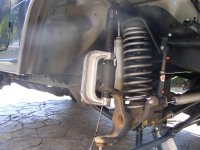
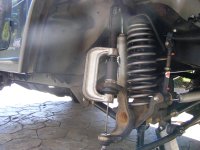
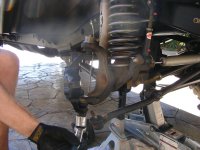
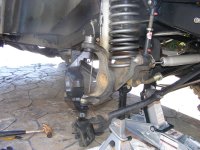
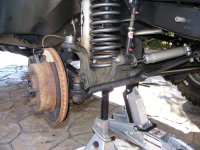
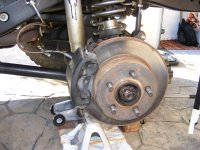
On your Jeep, the ball joints are responsible for connecting the steering knuckle to your axle. A worn ball joint will often cause sloppy steering and a popping sound as you go over pot holes and bumps. A simple check to see if your ball joints are bad is to jack up your Jeep, with a few inches of air under your front wheels. Use a long pry bar or broom handle inserted under one of the front tires to move the tire up and down. While the tire goes up and down, you may see movement in your ball joints. You should not see any movement.Here is an example of a bad ball joint:


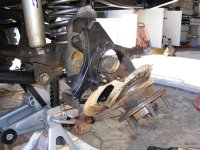
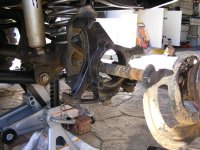
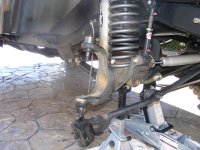
and another (with the boot removed)


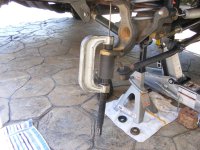
Once you've identified your ball joints as bad, you'll need to go about replacing them. Replacing ball joints requires a ball joint tool (inventive name huh?). This is a C-clamp with some extra fittings that allow you to press out the old joints and press the new ones in. I rented my tool from Advance Auto Parts for free (leave a $160 deposit, and then get it back when I'm done).
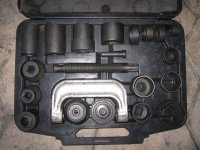
1-ball-joint-tool.jpg

You'll also need a standard socket set, a floor jack, a grease gun (to lube your new ball joints), and some jack stands to secure everything.

Optional, but recommended:
There is a Jeep / Dodge specific ball joint tool (OTC 7894) that is available at amazon:
Amazon.com: OTC 7894 Ball Joint Service Adapter for Jeep/Dodge: Automotive

This is used with the standard ball joint tool that you rent at the local parts store. What this does is give you a tapered cup. The Jeep knuckle is angled, so that if you use a universal ball joint tool you'll end up putting the ball joint in at an angle. In the photo below you can see the ball joint on top, then the knuckle below it, and the angled cup on the bottom.
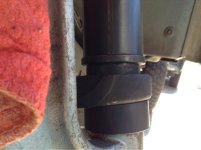
image-1691872816.jpg
 
Last edited:
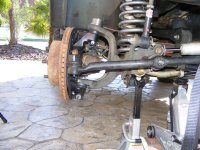
Removing the old ball joints

Removing the front brakes
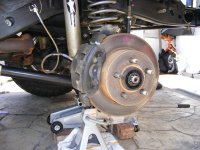
The first step in removing your ball joints is to take off the front brakes. Jack up the vehicle, remove the tire, and remove the two 13 mm bolts that hold the front caliper on

2-remove-front-tire.jpg

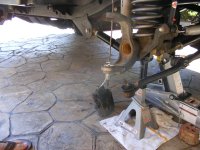
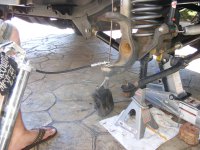
Once the caliper is out of the way, you can remove the rotor, and then remove the front tie rod end. You'll need to take out the cotter pin and castle bolt that hold the tie rod on, then using a pickle fork pry the end off. You can use a hammer to remove the tie rod end, but you risk flattening out the head and ruining the threads on the tie rod end.

3-remove-tie-rod-cotter-pin.JPG 4-remove-tie-rod-end.JPG

Removing the wheel bearings and axle shaft

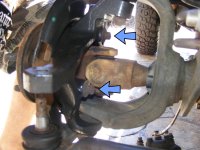
There are three bolts on the inside of the steering knuckle that need to be removed in order to get to the axle shaft. Just use your standard socket and pull them out.

5-bolts-to-be-removed.jpg

Bolts still in:

6-bolts-to-be-removed.jpg

And removed:

7-bolts-removed.jpg

Now the axle should come out easily. Just pull it straight out.

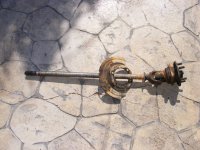
8-removing-the-axle.jpg 9-pulling-out-the-axle.jpg 10-jeep-axle.jpg

Removing the steering knuckle
Now that the axle is out, you'll need to remove the steering knuckle. Just remove the bolts on the top and bottom ball joint. You'll now need to hit the steering knuckle with a large hammer several times. It will eventually pop and fall off (watch your feet while you do this).

10-remove-the-steering-knuckle.jpg11-steering-knuckle-off.jpg

Removing the ball joints
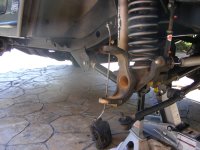
Now that everything is out of the way, we're ready to remove the ball joints. You'll need to use your ball joint tool, and press out the ball joints. Start with the upper ball joint, and arrange the tool so that it pushes the ball joint from beneath, up into the receiver cup. It will take a good deal of pressure, but eventually the ball joint will pop out.

12-pressing-out-the-upper-ball-joint.jpg

Once the upper ball joint is out you'll move on to the lower one. It's the same scenario except that you'll be pressing down on the ball joint, so that it pops out bottom.

13-pressing-out-the-lower-ball-joint.jpg

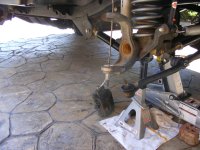
Congrats, you're half way done.

14-removed-ball-joints.jpg
 
Last edited:
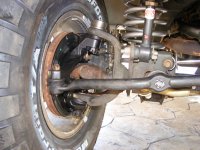
Installing new Wrangler ball joints

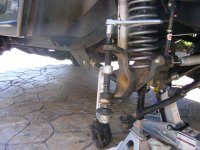
Using your ball joint tool again, press your lower ball joint into place (press up from the bottom). Make sure that it goes in straight (not at an angle), also make sure that the ball joint is completely seated.

15-install-lower-ball-joint.jpg

Once the ball joint is in, remove the plug, install the grease fitting, and grease it up.

16-lower-ball-joint .JPG 17-lower-ball-joint-grease-fitting.jpg 18-lower-ball-joint-greasing.jpg

And, when you're done, remove the grease fitting and replace the plug (you have to do this quickly, or the grease will escape). Once that's done you can move on to the upper ball joint.

Inserting the upper ball joint
The upper ball joint will go in similar to the lower one, except that you'll need to reverse your ball joint tool, to press it in from the top. Again, just take your time and make sure that it goes in straight, and seats completely

19-install-upper-ball-joint.jpg 20-upper-ball-joint.jpg

Now that both ball joints are in place, you can reinstall the steering knuckle. Put the castle nut on the lower ball joint and torque it to 75 lbs, then put the upper castle nut on and torque it to 70 lbs and reinstall the cotter pins. The steering knuckle should move freely back and forth.

21-install-steering-knuckle.jpg 22-finished-steering-knuckle.jpg

Reinstall the tie rod end (and torque to 35 lbs) and install a new cotter pin. Now just put some fresh grease on the axle shaft and slide it back in (don't forget the dust shield). Install the three knuckle bolts and tighten them to 75 lbs, then the rotor, then the caliper (torque the caliper bolts to 11 lbs) and finally the wheel. Then it's time for a test drive.


23-rotor-installed.jpg 24-brakes-reinstalled.jpg 25-ball-joint-replaced.jpg 26-finished-ball-joints-wrangler.jpg
 
Last edited:
Bad ball joints

The new ball joints that I installed were tight enough that I couldn't swivel / wiggle them with my bare hands. On the contrary, the old ball joints were so lose that just moving them up and down would cause the sockets to wiggle around. Defiantly worn out.

Bad ball joints:
 

Attachments

  • IMG_2093_wrangler_ball_joints.JPG
    IMG_2093_wrangler_ball_joints.JPG
    70.9 KB · Views: 6,295
  • IMG_2092_wrangler_ball_joints.JPG
    IMG_2092_wrangler_ball_joints.JPG
    79.9 KB · Views: 8,543

Thanks Terry. Very nice documentation. I have no doubt that I could do it myself if I followed your directions!
 
I would like to add a little advice for those with older jeeps. When you get the ball joint press as tight as you can get it with a breaker bar take a hammer and hit the inner c around the ball joint it will help pop the ball joint loose at which point it will almost slide right out.
 

Very Nicely done, coulda used that years ago! LOL
 
I have gotten most of the way through the ball joint replacement. Now I find I cannot tighten the drag link bolt to the steering knuckle, the bolt in the link end just keeps spinning with the nut. Any suggestions? KEH
 
Idaho51 do you have a c clamp big enough to tighten (pressure) the bolt from spinning and then you should be able to tighten the nut. Basically pinching the bolt with the c-clamp, wrench the nut on. my .02 Good luck Born and raised in Pocatello actually too
 
I have gotten most of the way through the ball joint replacement. Now I find I cannot tighten the drag link bolt to the steering knuckle, the bolt in the link end just keeps spinning with the nut. Any suggestions? KEH

I remember this happening to me - I started the nut, then used a pickle fork to apply some pressure, that stopped the nut from spinning (the same way you'd use the fork to separate the joint. It worked, but I was worried that I'd destroy the boot.

I'd try Y2KTJ's idea first.
 
thanks for the article Terry! I was wanting to go ahead and change my ball joints but had never done it before, so I was a little intemidated by the idea. After reading your write up I think I am going to go ahead and do it this summer.
 

Ha, nevermind. I just remembered I have kingpins and not ball joints. I knew there was a reason I hadnt done this yet. lol
 
If that happens use the ball joint c clamp to pinch the tie rod into the taper and then put the socket through the hole
in the bj tool and tighten it up
 
Back
Top