PoliceMonkey161
New member
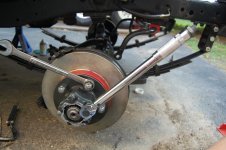
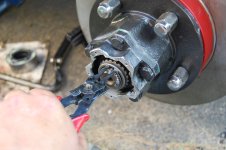
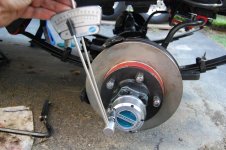
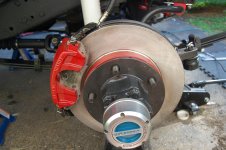
Hello All... I've had several members ask about my Dana 30rebuild, unfortunately I did not take many photo's of the strip down and gearset up, but I started taking photo's today during the re-assembly. So, let's go with that you are re-building your stock differential and are going to re-use your existing gear set up, but want to replace the bearings, races and seals.
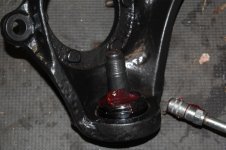
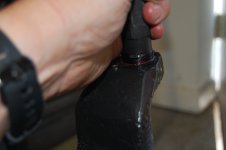
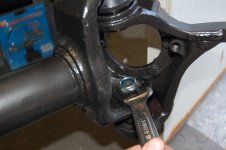
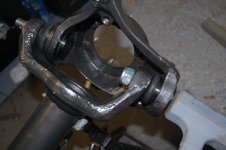
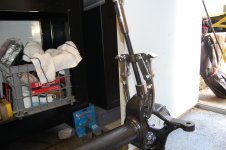
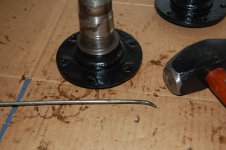
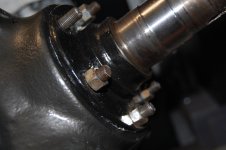
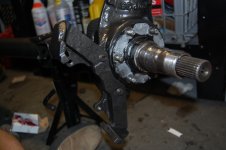
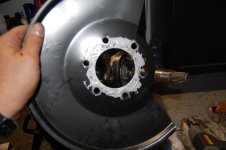
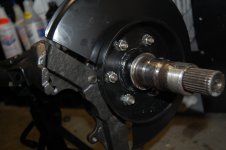
First, here are my newly painted parts with POR-15 minus the knuckles which need extra top coat since POR-15 is UV sensitive and I missed a few spots.
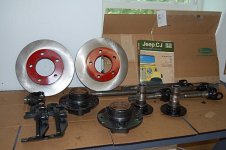
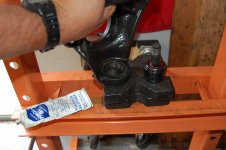
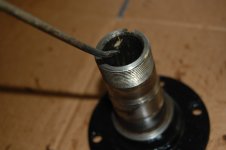
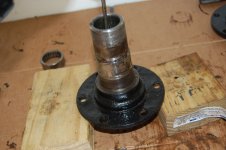
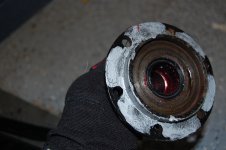
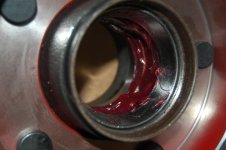
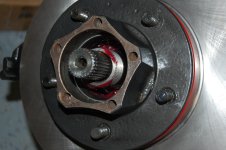
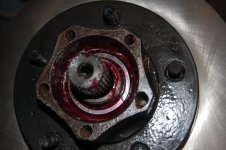
Today we will cover assembling the rotor to hub. First Iwill press the new races into the hub. Hold on to your old parts, they will come in handy. I've cleaned the inside of the hub from overspray with a"scotch pad" and put a light coat of lithium grease on the inside ofthe hub and new race. We will start with the inside of the hub.
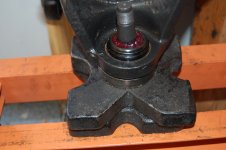
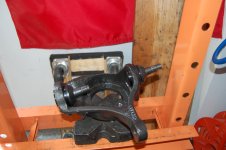
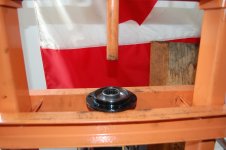
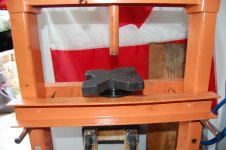
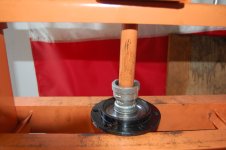
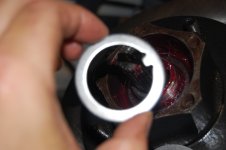
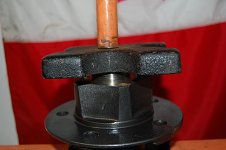
First, use a press arbor plate on the top and bottom to start the race. Next, I'll use the old bearing race on top of the new one to press intoplace. Be careful of binding, stop if parts are not square.
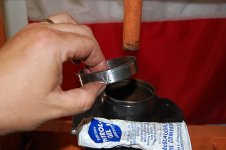
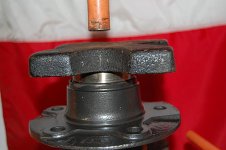
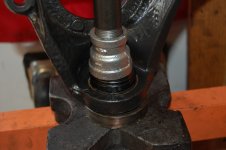
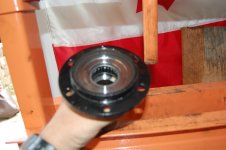
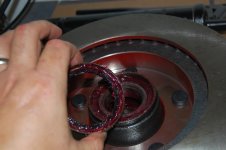
Next we will pressthe external side of the hub, same as inside with pre-cleaning and grease.However, you will need two of your old races stacked on top of each other to get it fully seated.
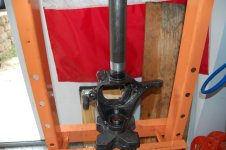
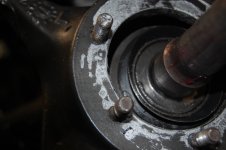
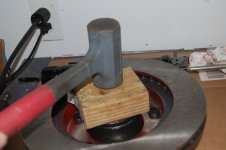
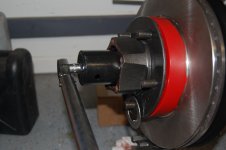
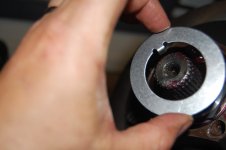
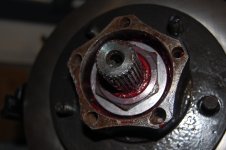
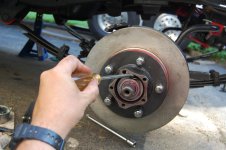
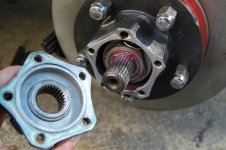
Now I cleaned up the extra grease and looked for binding or miss-alignment. In order to press the hub on to the rotor, I used new studs(but that is up to you). I started with two studs on opposite sides (I greasedthe threads only) through the rotor into the bearing. Turn the suds slightly until you feel them align with the stud groves in the hub housing. Next I applied lug nuts and tightened them slowly with a impact wrench.
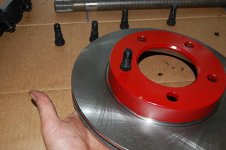
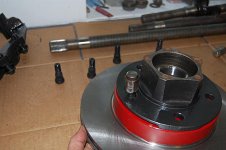
After getting the first two started, I continued to install the other three. I used a cross pattern (like installing a rim to a axle) to compress the studs. Go slow and check for miss-alignment or binding.
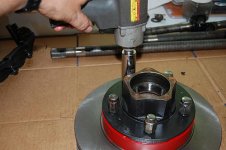
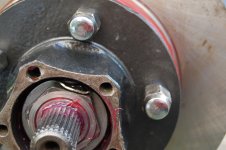
After you have fully tightened the lugs, flip over the rotor to make certain your studs are seated.
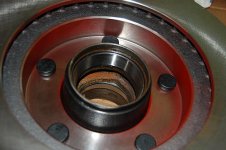
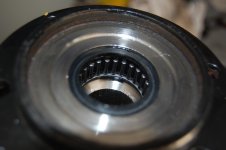
So now, you have an assembled rotor and hub!
Read more: http://www.jeepz.com/forum/cj-yj-tj-jk/39573-new-project-re-building-dana-30-a.html#ixzz1ylDjpZjY
First, here are my newly painted parts with POR-15 minus the knuckles which need extra top coat since POR-15 is UV sensitive and I missed a few spots.

Today we will cover assembling the rotor to hub. First Iwill press the new races into the hub. Hold on to your old parts, they will come in handy. I've cleaned the inside of the hub from overspray with a"scotch pad" and put a light coat of lithium grease on the inside ofthe hub and new race. We will start with the inside of the hub.
First, use a press arbor plate on the top and bottom to start the race. Next, I'll use the old bearing race on top of the new one to press intoplace. Be careful of binding, stop if parts are not square.


Next we will pressthe external side of the hub, same as inside with pre-cleaning and grease.However, you will need two of your old races stacked on top of each other to get it fully seated.

Now I cleaned up the extra grease and looked for binding or miss-alignment. In order to press the hub on to the rotor, I used new studs(but that is up to you). I started with two studs on opposite sides (I greasedthe threads only) through the rotor into the bearing. Turn the suds slightly until you feel them align with the stud groves in the hub housing. Next I applied lug nuts and tightened them slowly with a impact wrench.


After getting the first two started, I continued to install the other three. I used a cross pattern (like installing a rim to a axle) to compress the studs. Go slow and check for miss-alignment or binding.

After you have fully tightened the lugs, flip over the rotor to make certain your studs are seated.

So now, you have an assembled rotor and hub!
Read more: http://www.jeepz.com/forum/cj-yj-tj-jk/39573-new-project-re-building-dana-30-a.html#ixzz1ylDjpZjY
Last edited by a moderator:


