RE: Humor for Anyday
Glory be, how things can change at a moment's notice. So, our son stopped by this morning because the job he was supposed to do (satellite installation) cancelled on him. I talked him into taking Sunshine down to Mulvane to get the cow so I could stay home and start the install. I was finished before they got back!! So, without much further ado, here's the long and short of it:
I bought the Flex-a-Lite 475 Electric Puller Fan from 4wd.com. It's a single 15" fan and produces 2030 cfm at 13.5 volts with only a 9 amp draw. The fan has a built in adjustable thermostat and has the option to switch it off for deep water crossings if you buy the separate switch. It comes with everything you need for installation in the YJ and bolts right up with no modifications.
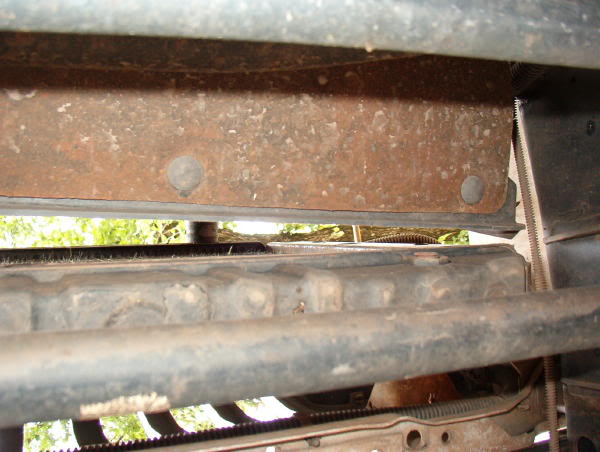
First, you'll need to detach the rubber splash shield that attaches to the original shroud. It's held on with three plastic snap bolts on the bottom of the shroud:
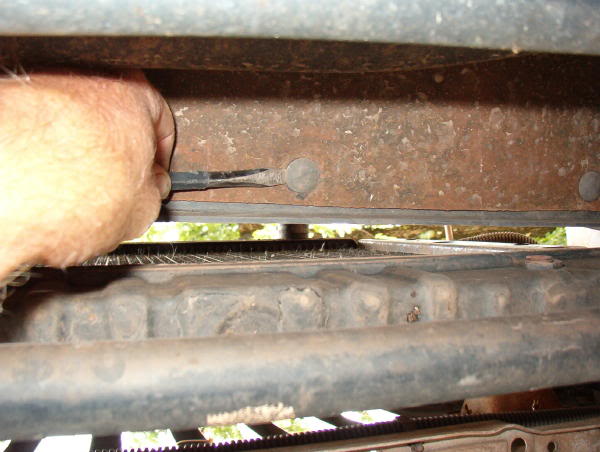
The snaps should come out with a little help from a flat blade screw driver:
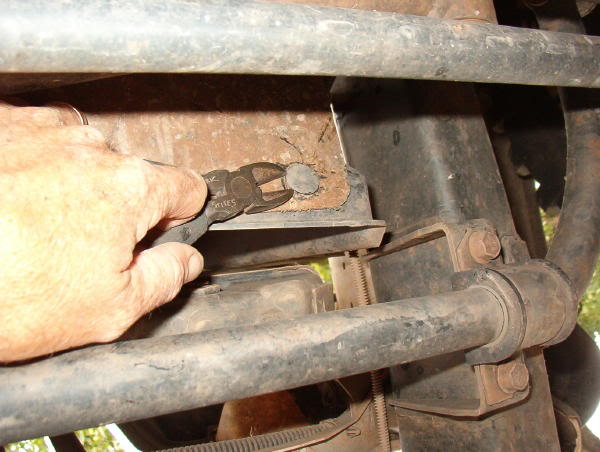
However, they didn't. So, I used a pair of dykes (no, not the flannel clad butch hair cut types) to snip them off:
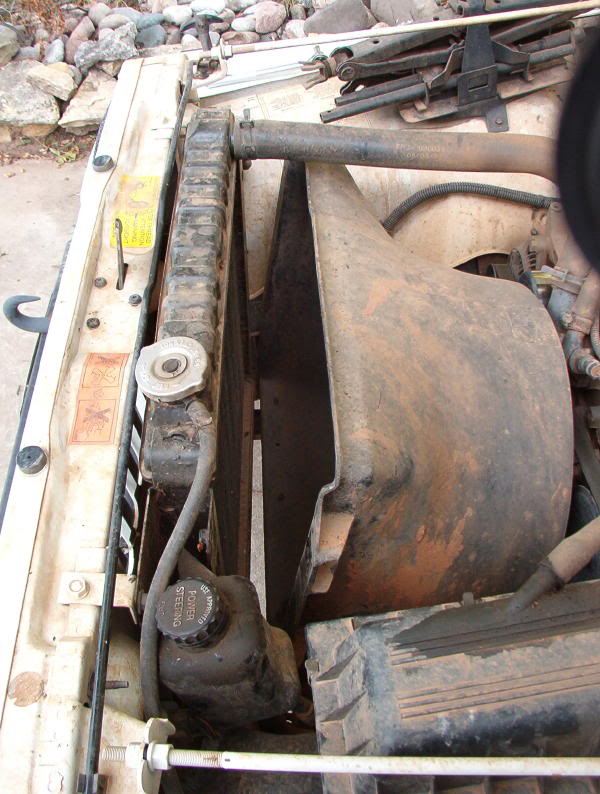
Next, remove the 5 bolts that hold the shroud and power steering fluid reservoir to the radiator. Save these bolts to use when installing the new fan. Note: On '97 and newer models, the power steering fluid reservoir and overflow tank both mount directly to the shroud, but Flex-a-Lite includes a voucher that you can mail in for a free bracket to use to reattach these. On mine, the power steering fluid reservoir bolts on at the top of the driver's side of the radiator. After removing these five bolts, tuck the reservoir out of the way:
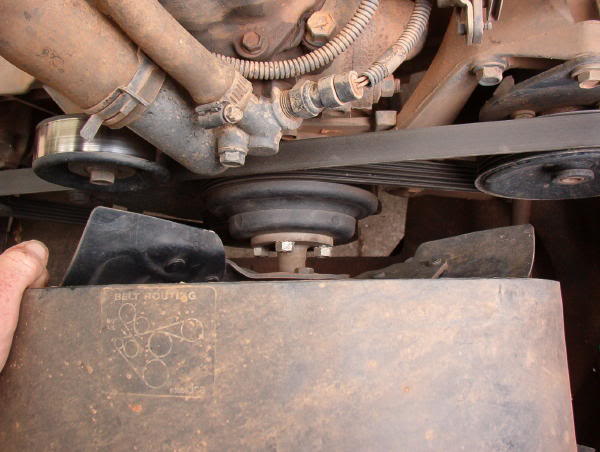
Now that the shroud is loose, you'll have to remove the four nuts that hold the fan and fan clutch to the waterpump pulley. The shroud cannot be removed until the fan is taken out. This is a bit difficult, as the pulley wants to turn as you try to loosen the nuts. I used a second wrench to wedge between two of the studs to hold it still while I loosened the nuts. You'll want to remove the fan and fan clutch as one unit:
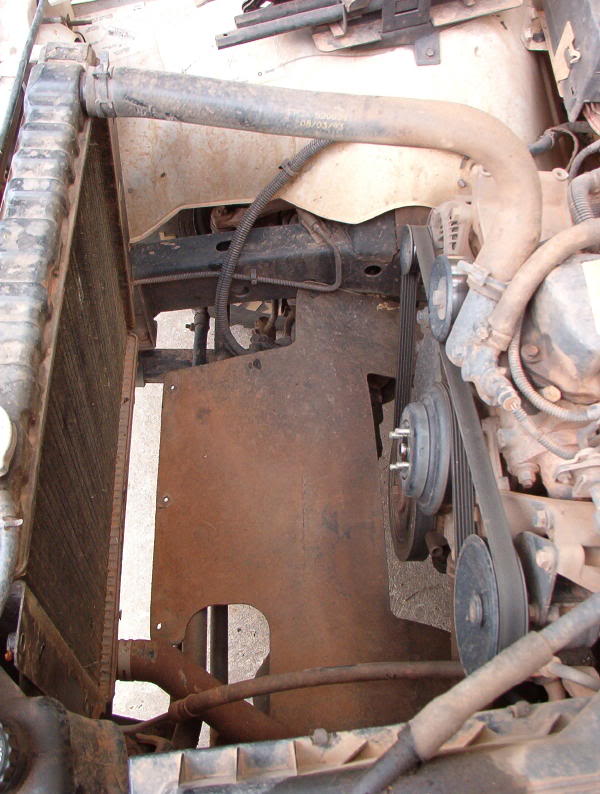
Once the fan and clutch assembly are out of the way, rotate the shroud 90 degrees and lift it straight up out of the engine compartment. Replace the nuts that held the fan assembly back onto the studs and tighten. Just look at all the freakin' room there is in there now!!!
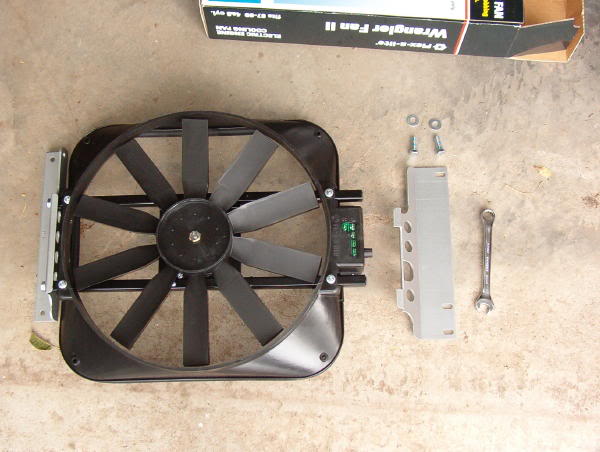
Now you're ready to attach the brackets to the new fan. The pictures in the instructions are pretty clear and easy to follow. This shot is looking at the fan from the engine side. The thermostat control is on the right in the picture, and the bracket with the wider angle will fit over that. The brackets bolt on easily with two supplied bolts each. Leave the bolts loose until the fan is installed after the next step:
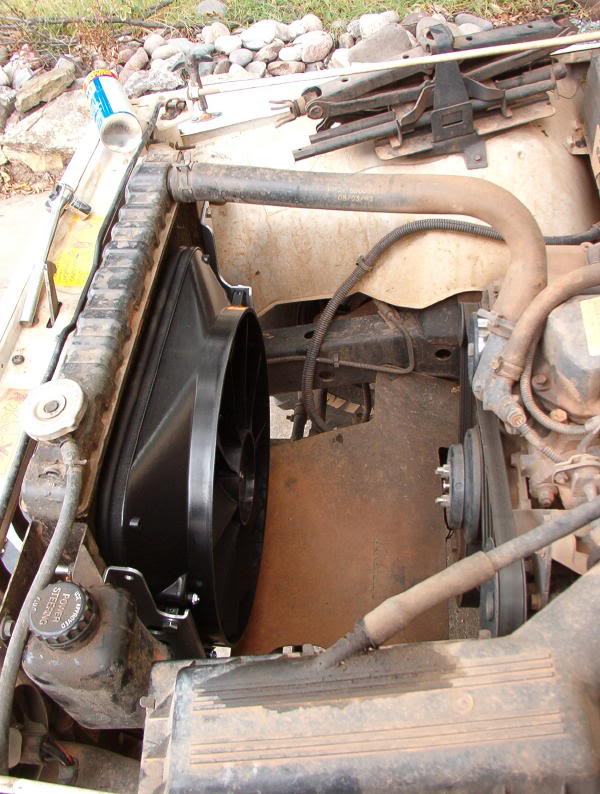
Once the brackets are attached, slip it in between the radiator hose and air box. Be careful not to damage the fins on the radiator coils, and also the rubber gasket on the fan shroud. Attach the lower two and upper passenger side bolts loosely first to hold the fan in place. Move the power steering reservoir back into place and reattach it with the original bolts. Tighten the five bolts down, then make sure that the rubber gasket on the new fan shroud is in contact with the radiator all the way around as you tighten the four bolts that hold the brackets to the fan:
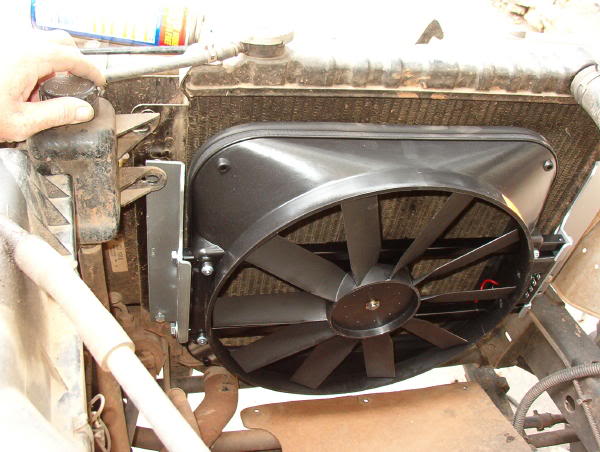
Now that the fan is installed, the wiring is a snap. I didn't bother to take pics or do a write-up on the wiring because it was relatively simple. There was, however, one very important part missing; they neglected to include the 40 amp auto-resetting circuit breaker, so I had to make a quick run in to town to buy one at Advance Auto Parts. Cost $2.69. I will, however, call them on Monday and have them send me one to have as a spare. That will be the test of their customer service department, so I'll report on that as it progresses.
After it is wired in, setting the thermostat is very simple. First, to test the fan, turn the thermostat control knob all the way counter-clockwise until the fan turns on. Then turn it back all the way clockwise. This will turn the fan off. Start the engine and let it come up to operating temp. Once the engine is at the desired temperature, slowly turn the thermostat knob counter-clockwise until the fan turns on. It should be good to go at that point. I set it one time at the normal 210 degrees, drove it for 20 miles, and it never came up above that mark, staying between 190 and 210 just like it did with the old fan. You can adjust the thermostat at any time to suit different driving needs without damaging the fan or thermostat. You also have the option when wiring the fan in to install a manual cut-off switch for deep water crossings. I haven't done this yet, and don't know if I will until after I get set up better for deep water crossings (i.e.; snorkel, raised transmission and diff breathers, etc.). Also when wiring it in, you can choose to have it shut off with the ignition by wiring the switch wire to a switchable source, or wire it direct to the battery to have it run after the engine is shut off to continue cooling the radiator. I did the latter out of laziness because I didn't want to bother trying to find a good point to wire it to a switched source. When the Jeep is off, it took about 13 minutes before the fan shut off, and upon restarting it, the temp guage showed about 120 degrees. It's actually pretty loud when the engine isn't running, but I can't hear it when the engine is running. In the garage with no wind, it will suck the smoke from my cigarette through the radiator from about 4 feet away!! It definitely moves a lot of air!!
I tied up all the loose wires neatly with zip ties, and re-attached the front edge of the splash guard to the back side of the new fan shroud. Pretty professional looking job, if I do say so myself!
Total install time not counting pictures and the trip to get the circuit breaker: 45 minutes!!! This write-up took longer than the whole install did! And that's from Sparky, a guy who ain't really much of a mechanic at all!! If I can do it, anyone can, believe me!!
Now, my next mod is to build me a hot box to cook breakfast on my way to work.....I mean, what else are ya gonna do with all that space?

